Manually annotate in Fiji
This guide shows how to annotate data in a way that NeuroData can import into our processing pipelines.
Note
This guide is based on a guide written by the Nomads NeuroDataDesign team. The original guide can be found here.
Install onto your system using https://imagej.net/Fiji/Downloads/.
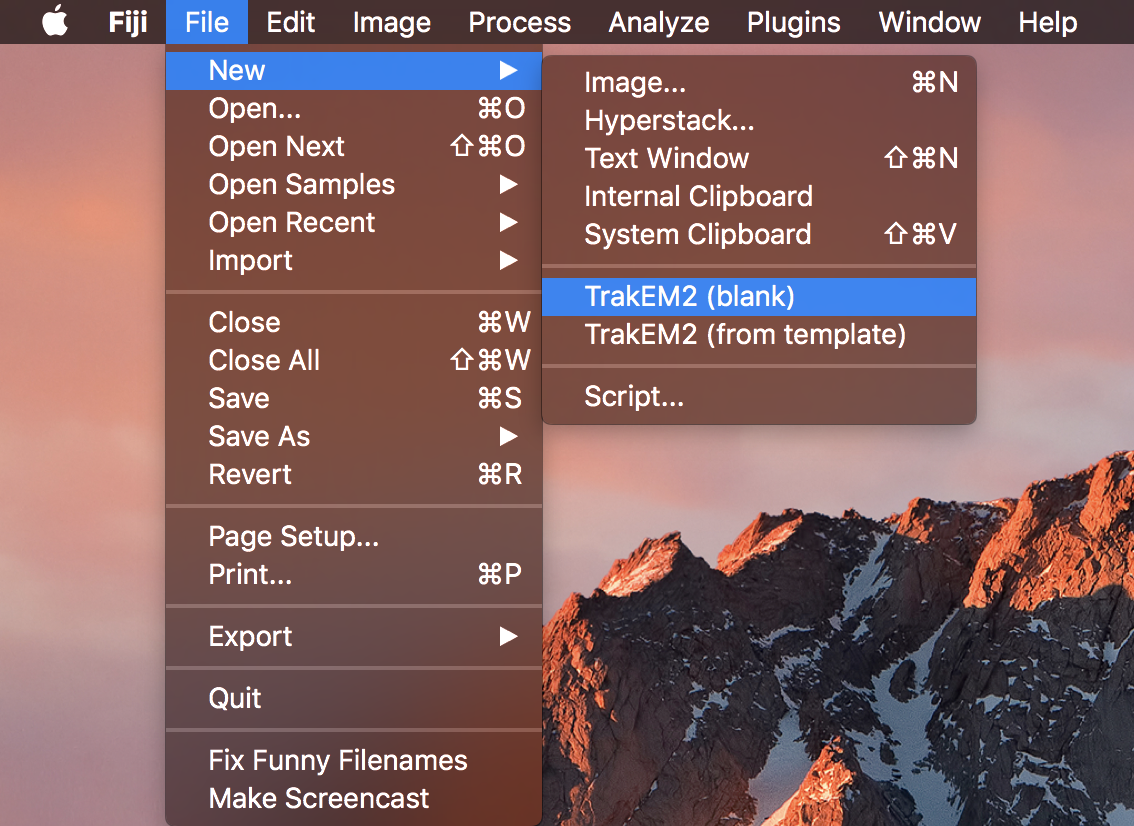
Open FIJI, and start a new blank TrakEM2.

Navigate to the folder of your image volume and select "open".
This should have changed your ImageJ canvas. Now, drag your volume from your folder into the canvas.
In the popup window, make sure that "Resize canvas to fit stack" is checked. After clicking OK, your canvas should snap to your image.
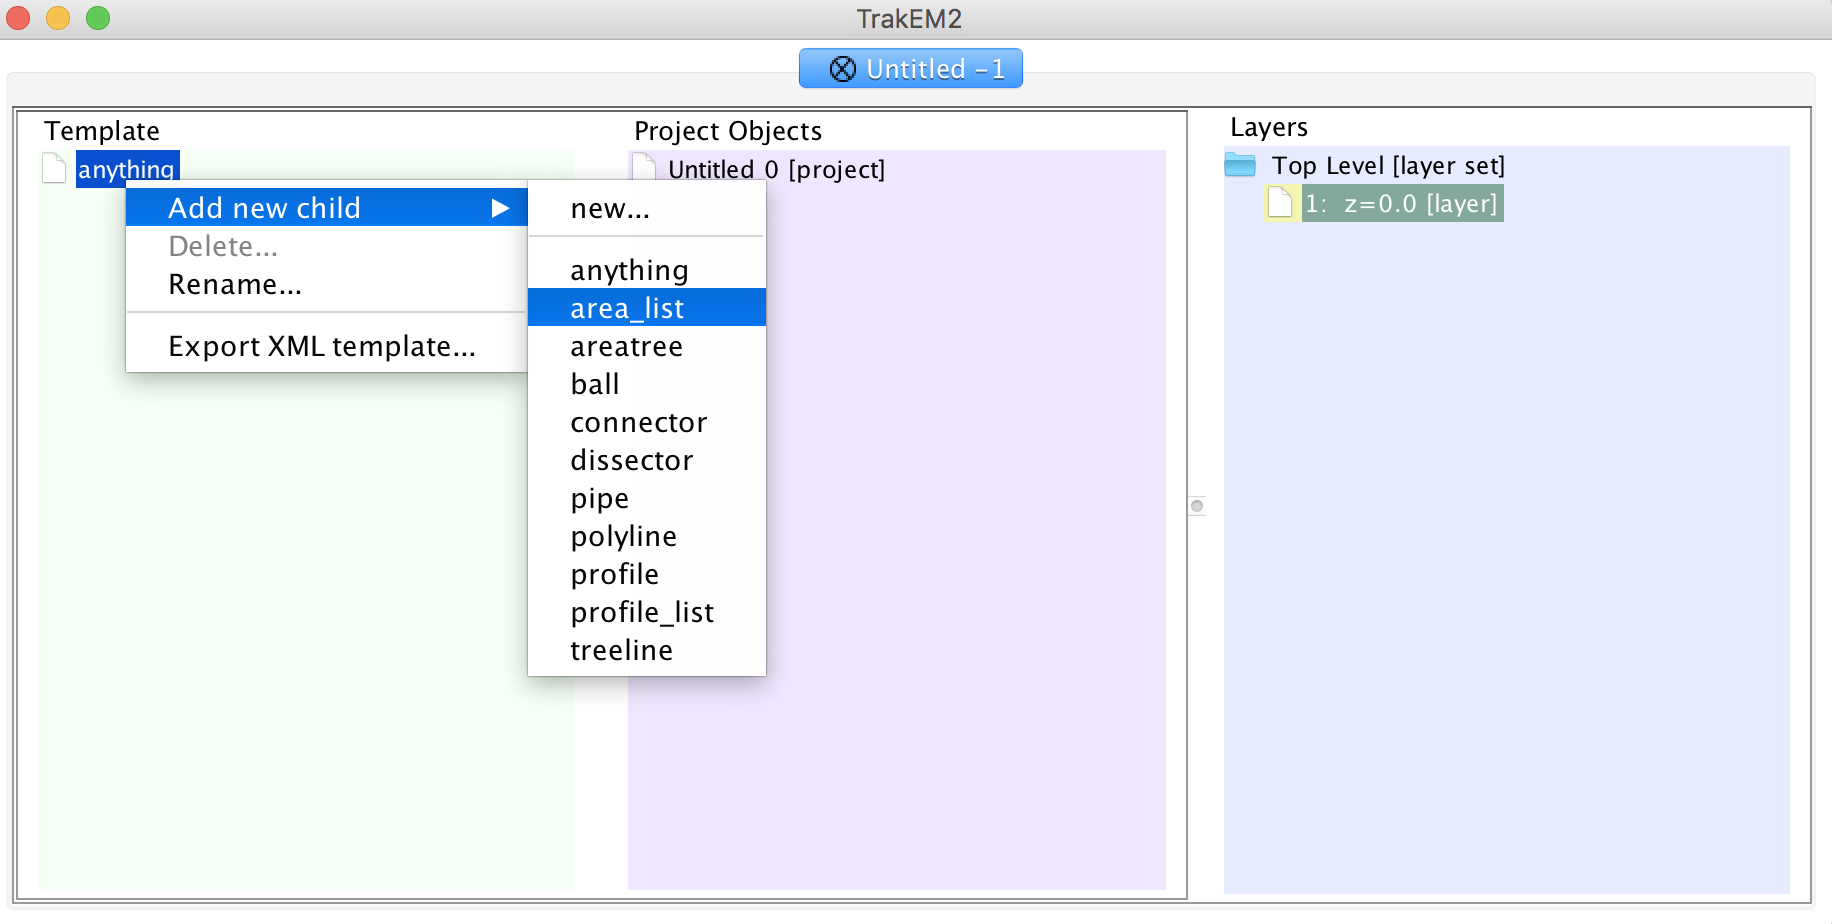
In your TrakEM2 properties, right click on "anything" in the template column and add a new "area_list".

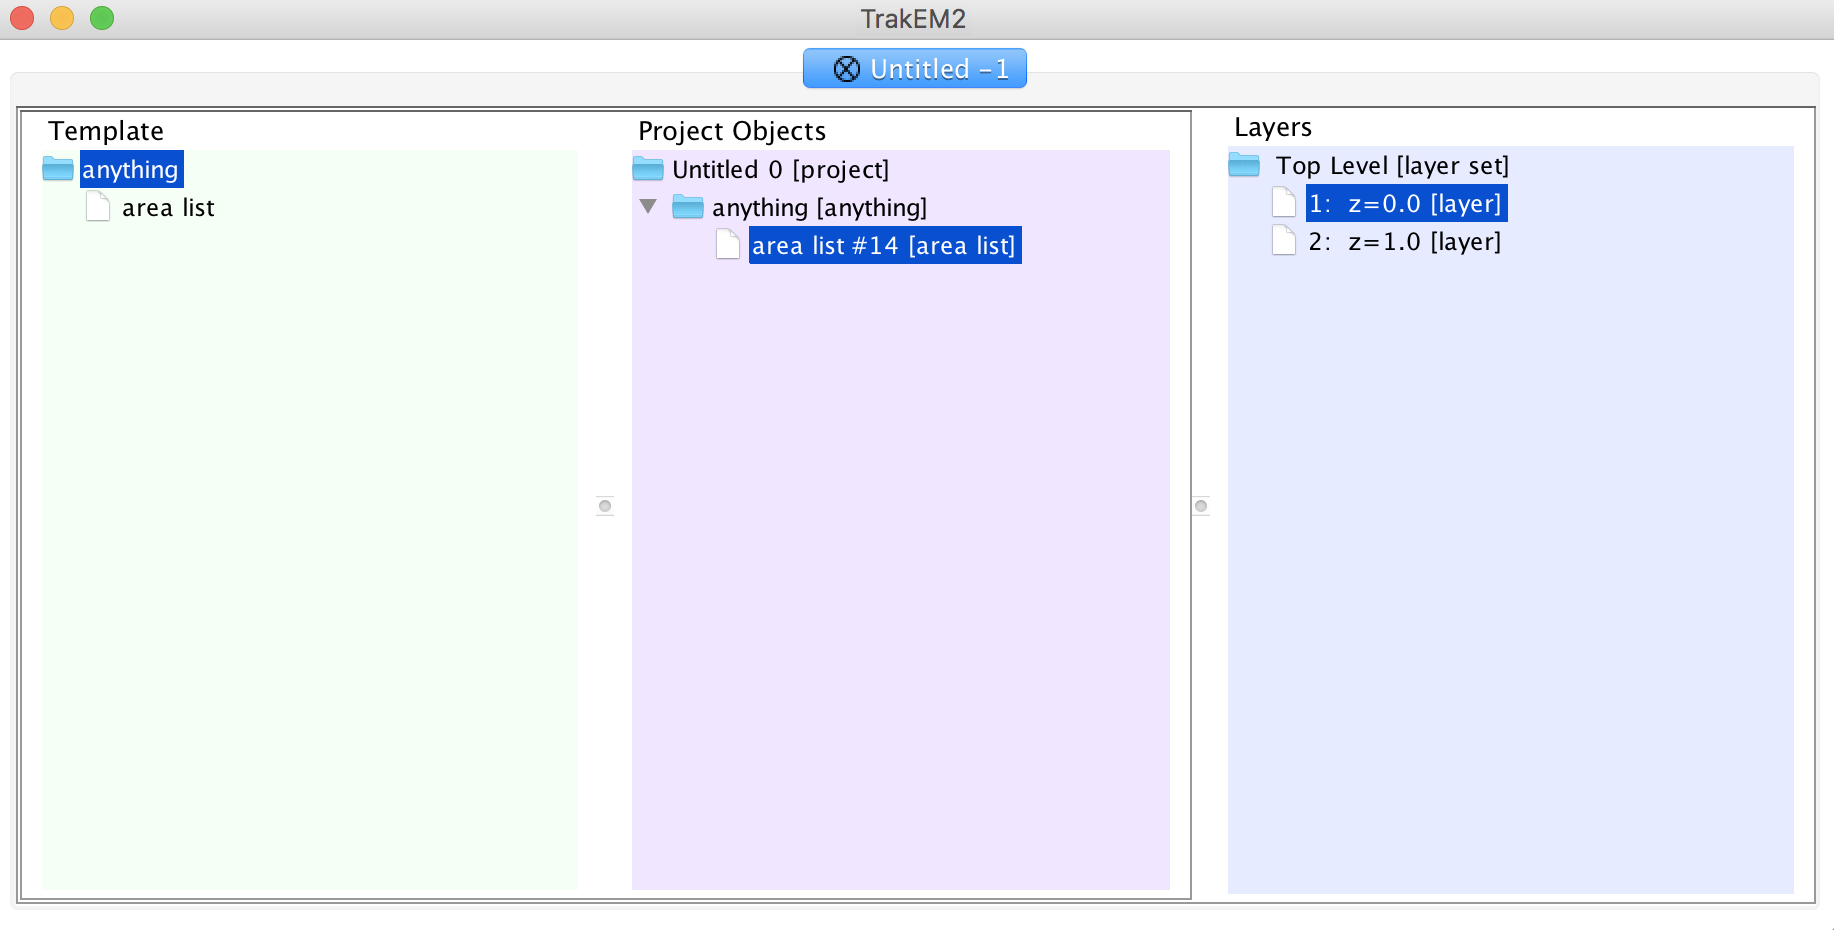
Drag the entire "anything" folder into "Unitled 0" in the middle column.
Right click the nested "anything" folder inside "Untitled 0" and add a "new area list".

Annotate Your Data by drawing all over it. You can scroll to annotate different slices in your tif. To add new unique annotations (with different IDs), redo steps
7and8.When done, right click your canvas and select "Export" -> "Arealists as labels (tif)".
Note
At any point, you can export your annotations as an xml by the same method listed above. Opening the xml file will start you where you left off.
A black screen will appear - these are your annotations, don't worry if you can't see them.
Save your annotations by choosing
Image Sequence..., selectingTIFF, selecting a name, and choosing the folder for output.These images can now be ingested into our data store. For a guide on how to do this, please use ndex, and follow the instructions through
Upload images (ndpush).